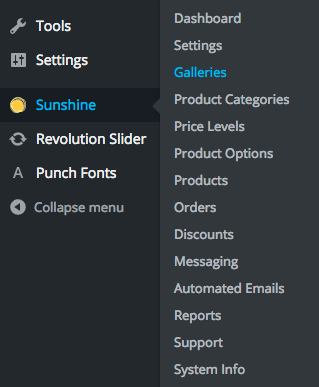
On your WordPress dashboard, hover over Sunshine, and click on Galleries
At the top of the page, click on Add New
![]()
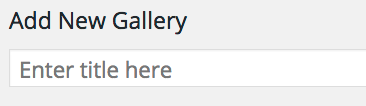
Fill in the title of your session, where it says “Enter title here,” near the top of the page
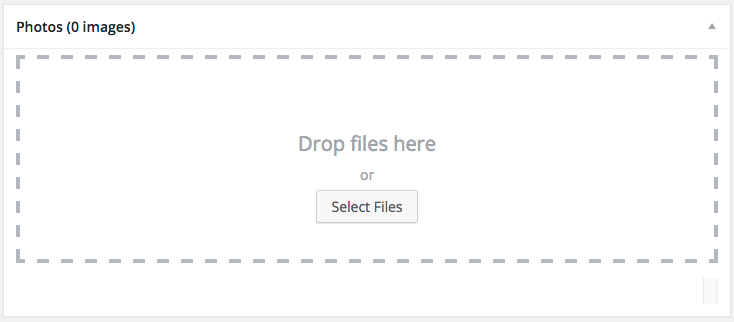
Scroll down, and in the Section that says Photos, either drag all your images in, or click Select Files to upload your images for the session
If you are planning on selling products for the session, scroll down a bit more to the Gallery Options section, and select the Price Level you want to use for the session
![]()
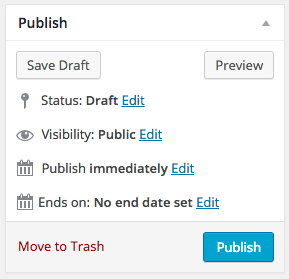
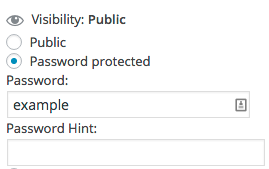
To set a password for the gallery, on the right-hand side, in the Publish section, click Edit next to Visibility. Choose Password Protected, and enter the password you want for the session
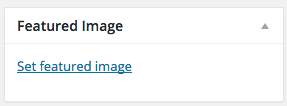
By default, the thumbnail for the session will be the first image uploaded. However, if you want to set your own session thumbnail, on the right-hand side, go to the Featured Image section, and click Set featured image
Upload the image you want to use for the thumbnail, and click Set featured image
To finalize and publish your session, under the Publish section, click the blue Publish button