
Outlook 2010/2013 Setup
How to setup your Marathon-hosted email account using Outlook 2010/2013
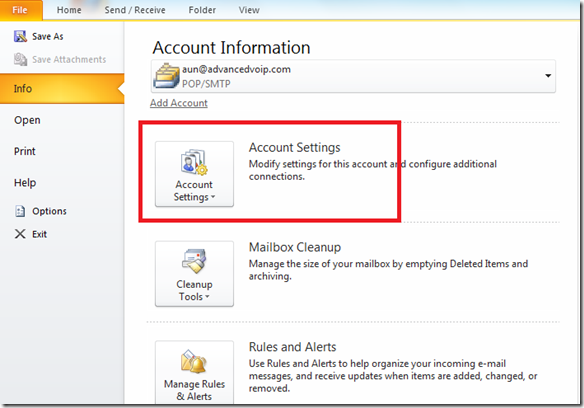
Open Outlook 2010/2013, click on the File tab and make sure Info is selected from the left menu and click Account Settings.
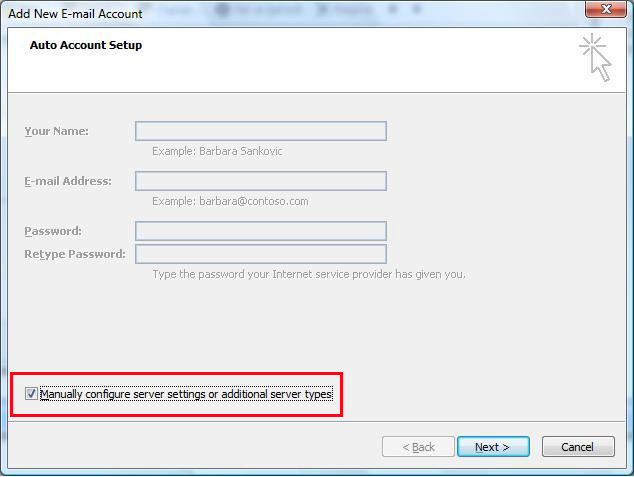
Select Manually configure server settings or additional server types and click Next>.
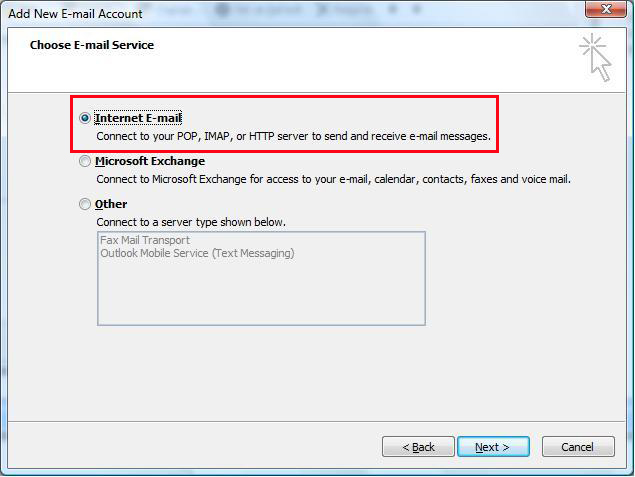
Select Internet E-mail and click Next >.
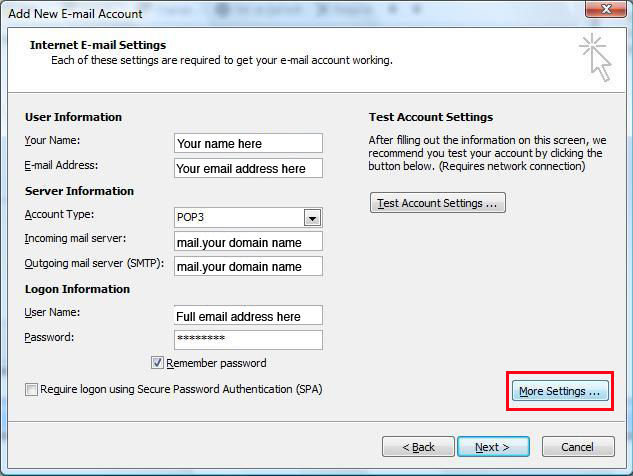
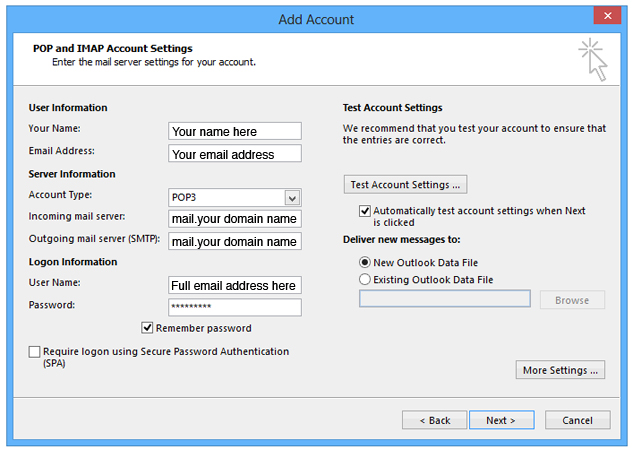
On the Internet E-mail Settings window, enter your information as follows:
Note! The following window is different in Outlook 2010 than it is in Outlook 2013.
Your Name: Enter your name or business name, this will show in the From field when you send emails.
Email Address: Enter your full email address, example@your domain name.
Account Type: POP3
Incoming mail server: Enter mail.your domain name.
Outgoing mail server (SMTP): Enter mail.your domain name.
Example – If your domain name was marathonpress.com you would enter mail.marathonpress.com
User Name: Enter your full email address
Password: Enter the password you were given for this account and check the box next to Remember password.
Click More Settings…
Outlook 2010
Outlook 2013
Click on the Outgoing Server tab, and check the box labeled My outgoing server (SMTP) requires authentication. Then select Use same settings as my incoming mail server.

Click on the Advanced tab.
Under Incoming Server (POP3), the port number should be set to 110.
Under Outgoing Server (SMTP), the port number should be set to 7625
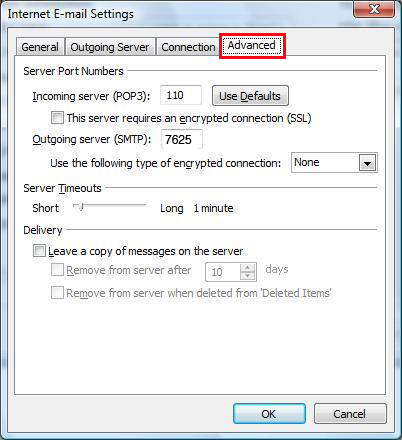
Click OK.
On the next window click Next and finally Finish.
Your Marathon-hosted email account should now be setup. Make sure and test your account by clicking on Send/Receive, you will receive an error if a setting is incorrect.