
This tutorial will show you the recommended settings when using Adobe Lightroom to export images intended for upload to your website’s Session Proofing system.
Your photos must already be in the correct orientation (upright) before beginning the processes below.
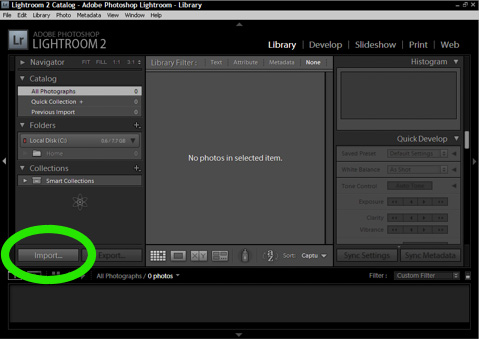
1. Open Lightroom.
![]()
2. Import your photos by clicking the Import button near the bottom-left corner of the Lightroom window (if they are not already within your Lightroom Library).
3. Select the photos intended for this gallery.
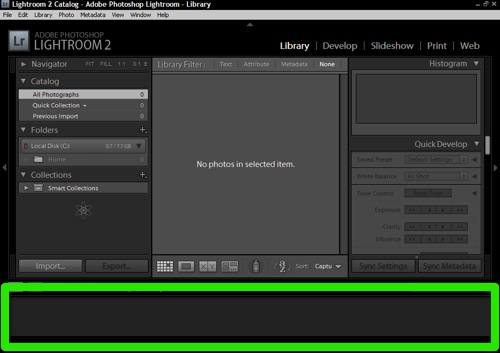
4. Arrange the photos in the order you would like them to appear in the finished gallery using the “filmstrip” at the bottom of the window.
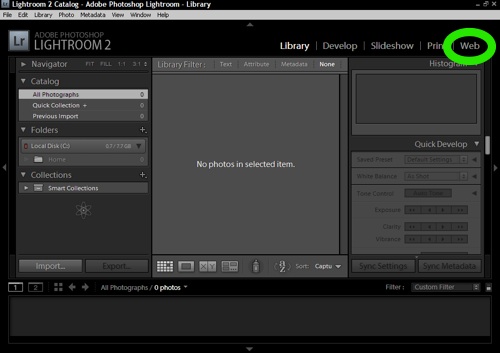
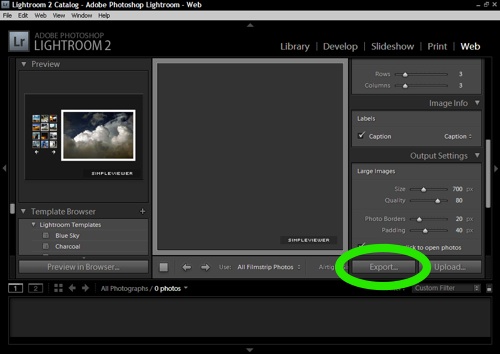
5. Click the Web button at the top-right of the Lightroom window.
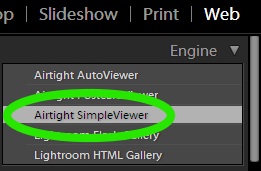
6. Choose “Airtight SimpleViewer” near the top-right of the Lightroom window in the Engine section.
7. Scroll down to view the Output settings (a few sections below the Engine section).
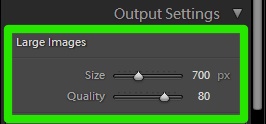
8. Change the Large Images Size to 700 px or less.
9. Adjust the Quality to between 60 and 90.
10. Click the “Export” button and choose a location on your computer to save the exported folder of images.
11. When the export is complete (it may take a while depending on the size and number of photographs) find the “thumbs” folder inside the exported folder of images and rename it to “thumbnails”.
12. Upload the entire exported folder to your website using your FTP software