
cPanel File Manager
You may use the File Manager to replace images, but it only allows you to browse for one image at a time to replace and is not ideal for changing out complete galleries. However, this can be nice for that quick update to a static image on a text page or within a gallery. Another option is that you can upload a zipped file with all of your images for a specific folder and extract that file, but you will also want to remove the zipped file to keep your site files cleaned up. Thus why we highly recommend using an SFTP program like FileZilla for the majority of the updates to your website. Also, if you are familiar with updating HTML text pages you can use the text editor within the File Manager rather than opening other text editing software programs to manage your content.
Open your browser (Firefox, Chrome, etc…) and type in http://yourdomain.ltd/cpanel, if you domain was marathonpress.com you would enter http://marathonpress.com/cpanel.
Press Enter on your keyboard.

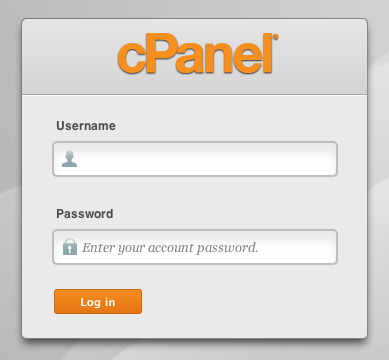
You may need to click Cancel when asked for a Username and Password if you see any other screen besides the following. Once you see the screen below enter your Username and Password.
Click Log in.
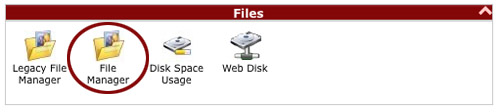
Once logged in, scroll down until you see the Files section. Click on File Manager.
A small window will open allowing you to choose the directory level, select Web Root (public_html/www).
Click Go.

You should now have access to all your website files.